Window painting
- genevieveaspinall
- Nov 23, 2024
- 4 min read
In this blog post I will share pictures of my recent commission painting Christmas windows for Ansdell Library and the process of doing this as well as tips and my experience of window painting for 'Percy the Post Penguin'!

Above: me next to my completed winter themed windows for Ansdell Library, I had a great time painting them and hope they bring some Christmas magic to the library!
Painting on a large scale is very different to painting with gouache in a sketchbook for obvious reasons, for example large areas of colour require a thicker brush and acrylic paint has a different consistency to gouache, it is thicker and doesn't require water.
In order to make the proportions correct, I drew out the outline of the polar bear, house, sleigh, tree and snowman first on large paper, to stick on the other side of the windows, meaning I can follow this outline when inside painting. It makes sure the proportions are correct as when you are looking up on an angle through a window to paint, it is easy to only make the proportions look right from the angle you are painting from. It also acts as a shield when the sun is bright which is very useful! I also did this when painting promotional windows for 'Percy the Post Penguin' to make sure the text and character was the same size and shape as it is on the cover of the book.

Above: Percy the Post Penguin windows, the outline is visible to make sure I keep the proportions correct!

Above: Following the outlines for the text!
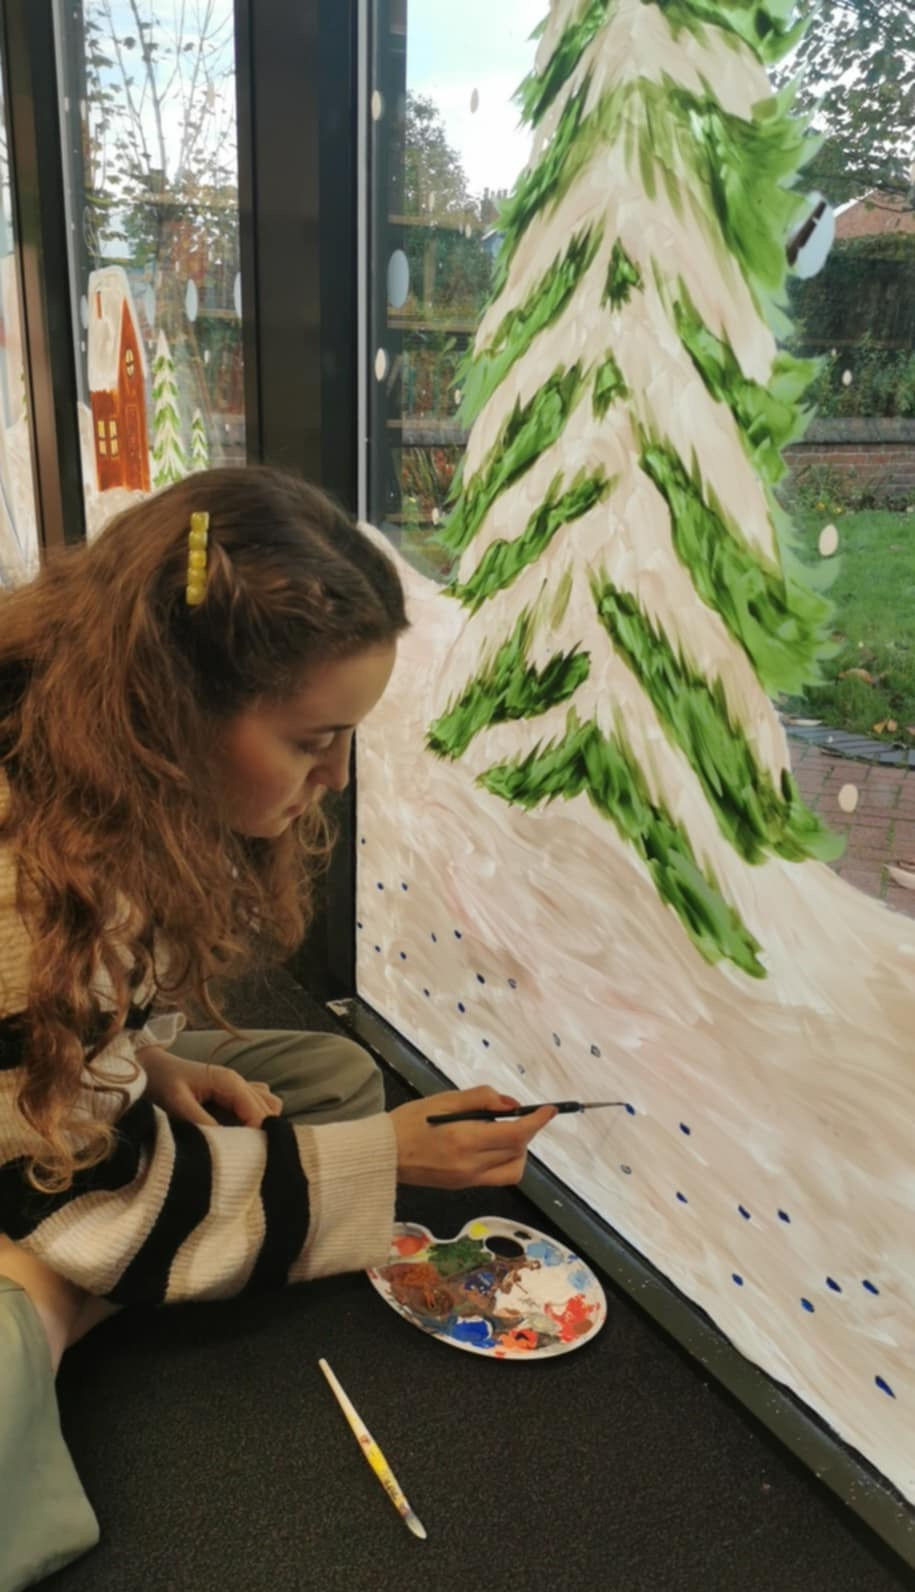
Layering the paint is also a big part of window painting. The paint dries relatively quickly, and if you paint over it once dry, it can crack the paint. However if you paint over it very quickly with a fast brush stroke, it might not affect the paint underneath. Because of this, you have to think about what lines and brush strokes should go on first. If the character has an outline, this has to be painted first, then the colour behind it. For example, I painted a black outline and Percy's eyes first, then the blue colour. The reason for this is because the paint can be opaque, and when you paint another colour on top of it, it won't be seen through the paint on the other side of the window. For Percy, if you painted the white paint on first, and then the eyes for example, the eyes wouldn't be visible through the white paint. So the eyes have to be painted first.

Above: painting the bow for a parcel first, then the block colour of brown would come after.

Above: The black outline, eyes and mouth were painted first before adding the white for the snow, orange for the carrot and brown for the sticks etc. (Ansdell Library Winter Windows)

Above: Adding more white paint to make the snow look extra bright!
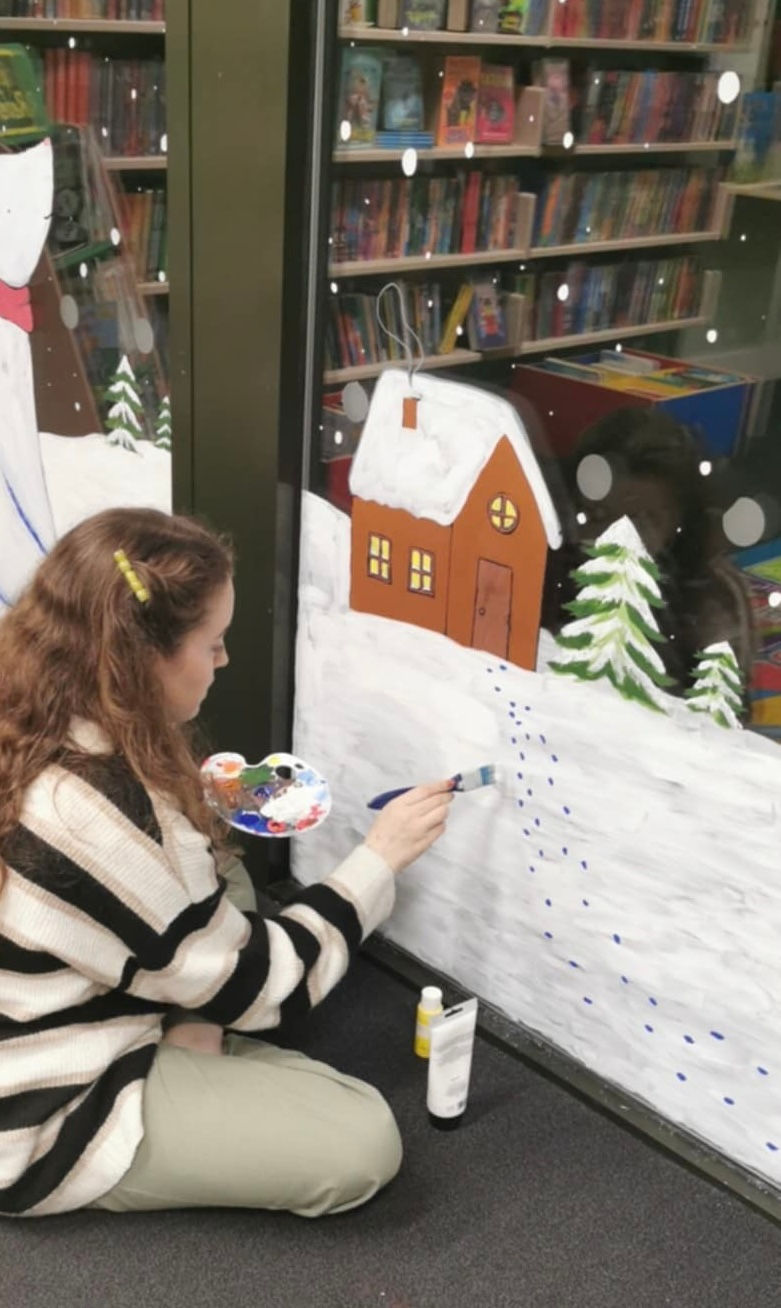
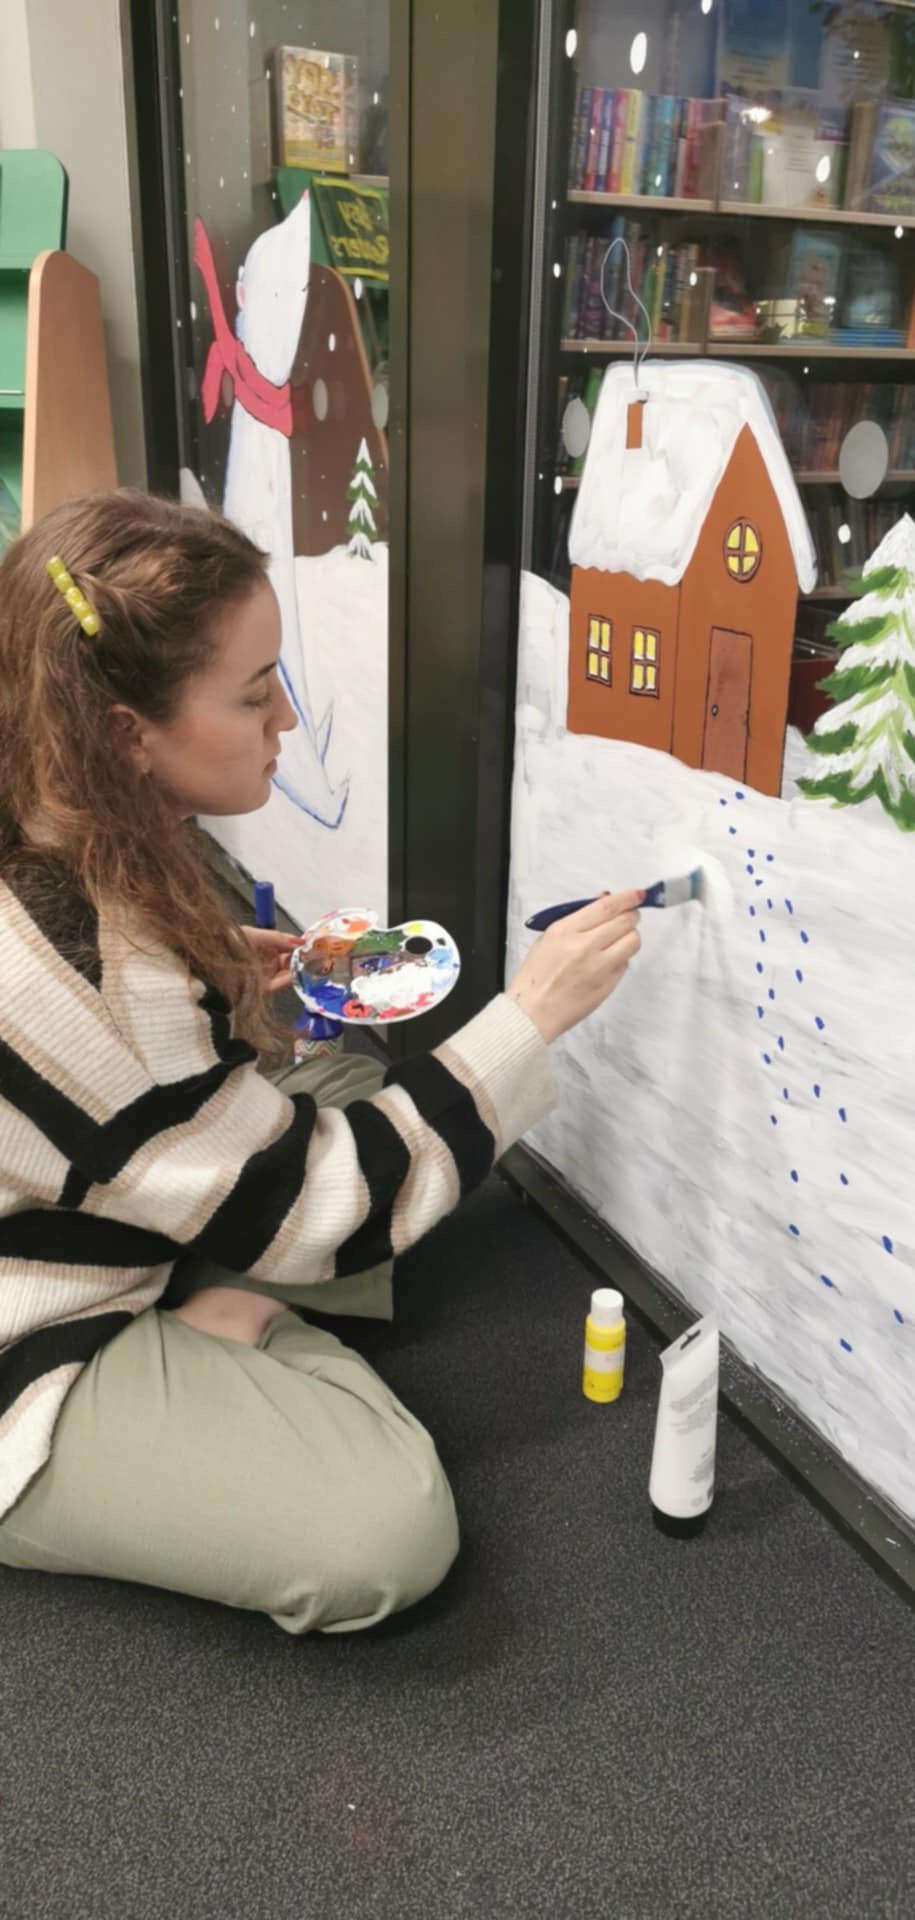
Window painting can transform a room, and create a really engaging piece of artwork for children and families to look at. I added in details such as little footprints and mice to add interest when people walk past.

Above: Windows for Ansdell Library. I needed a lot of white paint! The black outline for the polar bear's scarf was drawn on first, then I waited for this to dry before adding the red.
I spent time planning these windows, to create a mock up before going into the painting. This is important as it means I can prepare the outlines before I start and make sure everyone is happy with the design. For this commission, the windows consist of 4 arched panes of glass. To make it into one continuous scene, I drew out the windows on a piece of paper and created a focus for each one. For example, the polar bear is the main focus of the first window, then the house, the tree and the snowman. I thought about the way the polar bear was looking, and added in Santa Claus and his sleigh to follow the line of where he is looking, and create a flow within the scene, tying them all together. The footprints from the house lead to two little mice looking up at the snowman, who is pointing up at the sleigh, meaning the windows together actually create little stories you discover as you are looking at it.
My top tips for window painting:
Set down some paper or newspaper on the floor below where you are painting, as it can drip!
Draw the outlines first and layer the colours
Use chalk pens, Posca pens and acrylic paint with a paintbrush for large areas
Draw the outlines on paper first to stick on the outside of the windows.
Clean the windows with water first to make sure the paint sticks!
A little can go a long way, so don't squeeze out too much paint when starting
Plan the design before starting
Take pictures as you go along from the outside so you can check how it is looking
White paint is generally best for text as it stands out more than black paint


Thank you for reading, and I hope it has provided some interesting insight into large scale painting and different types of illustration in the industry!


Comments